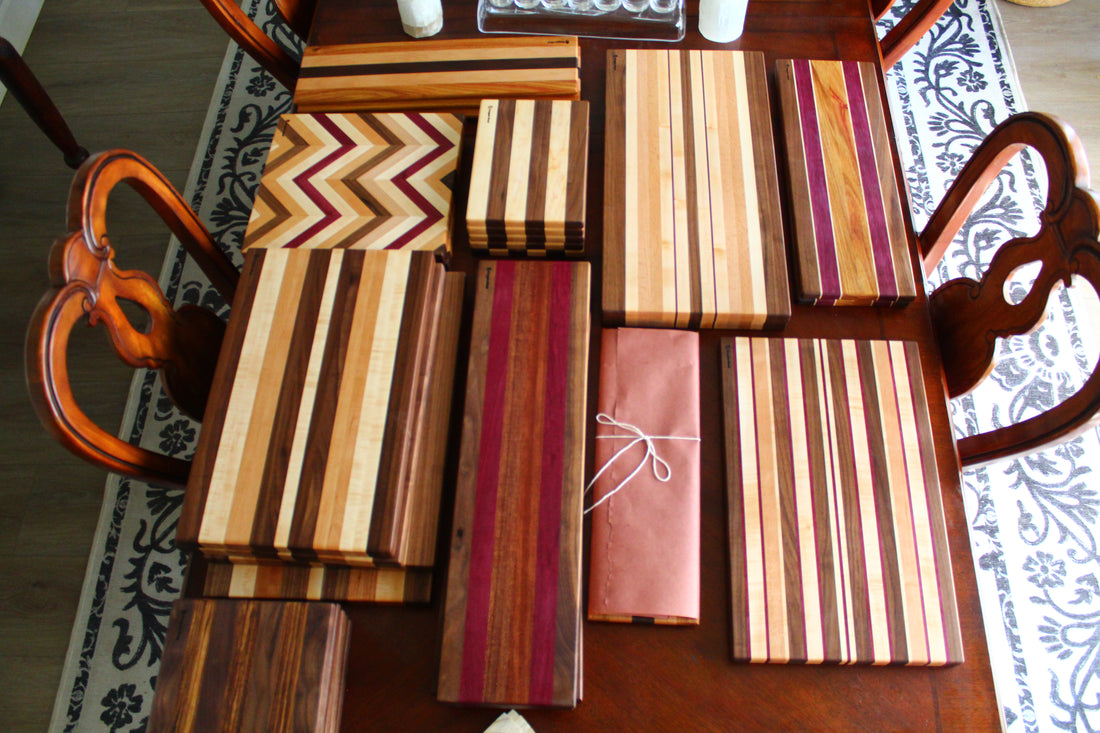
10 Cutting Board Techniques for Superior Results
When it comes to crafting the perfect cutting board, there are certain techniques that can take your woodworking skills to the next level. Here are 10 essential tips to help you create a masterpiece:
Use fine quality hardwoods
Quality starts with the materials you use. Opt for fine quality hardwoods like maple, cherry, or walnut for a durable and beautiful cutting board. We always hand select the rough stock that will be used to build our products. This ensures that you are getting the color, pattern and character that you do and don't want.
Always start thicker and wider than the intended result
It's easier to remove material than to add it back. Starting with a thicker and wider board gives you room to make mistakes and adjust as needed. I like to make most boards right around 1 inch thick. This makes the board heavy enough to stay in place while using, but light enough to move around. To achieve this, I'll start by cutting the edge grain strips about 1 1/2 inches.
Dry assemble prior to glue up
Before applying any glue, dry assemble your cutting board to ensure everything fits together perfectly. This will save you time and frustration during the glue up process. This is also a good time to make sure the grain and paterns are going the right direction. Sometimes I will get to this stage and play with the variations to get a visually appealing board.
Glue up should be done with glue still wet. Always use waterproof glue
For a strong and durable bond, make sure to apply the glue while it's still wet. Use waterproof glue to ensure your cutting board can withstand regular use and cleaning. Glue starts to set the moment it comes out of the bottle. This step should be done with some pace to make sure the glue isn't cured before you have time to tighten the clamps. This doesn't mean that it should be hastily done, but if you did the dry run from above, this part can be quicker.
Plane board to its final thickness
Once the glue has dried, use a planer to achieve the final desired thickness of your cutting board. This will give it a smooth and even surface for cutting and food preparation. I don't wipe off the boards during glue up. This is so that the glue doesn't get diluted with the water used to clean up. To remove the excess glue, I like to use a paint scraper to "pull" the dried glue off.
Sand, sand, then sand some more
Sanding is key to achieving a professional finish. Start with a coarse grit sandpaper and gradually work your way up to a finer grit for a smooth and polished surface. I typically start with about a 100 grit (sometimes 150), then move to 220, then 320.
Raise the grain
Before applying any finish, raise the grain by dampening the board with water. This will help you achieve a smoother finish and prevent any rough patches from appearing later on. After this step, I like to use a 400 grit sandpaper to get the final sanding finish. This may close the grain a little so the mineral bath takes a little longer to soak in.
Mineral oil bath
Give your cutting board a luxurious mineral oil bath to protect the wood and enhance its natural beauty. This will also help prevent the board from drying out and cracking over time.This is the most exciting step because you will finally see the detail and color in the board. I've experimented with this a little and found that leaving it in the oil for around an hour will leave your board nice and silky smooth.
Wax with Penguin Plank Paste
For a final touch, wax your cutting board with Penguin Plank Paste. This food-safe wax will provide a protective layer and give your board a beautiful sheen. I like to apply in a pretty thick layer and let sit for about an hour, then wipe off the excess and buff with a clean microfibre cloth.
Let the boards sit
After completing all the steps, allow your cutting boards to sit and cure for a few days. This will ensure that the finish fully sets and your cutting board is ready for use.
